

Building a Garage Golf Simulator | The Build Process
Once we got the simulator home, the next challenge was figuring out where it would live.
Out of the few locations we considered, the garage ultimately made the most sense. It allowed us to avoid sacrificing already limited interior living space while also giving us the flexibility needed for the simulator setup.
The garage offered the most swing room, the best ceiling clearance, minimal modifications to the house, and enough separation to keep the noise away from the main living area. Conveniently, it was also the furthest point away from my toddler’s room, which gave me the chance to sneak out for practice sessions during nap time or after she went to bed for the night.
A huge thank you also goes to my wife for sacrificing garage parking space to make the whole project possible.
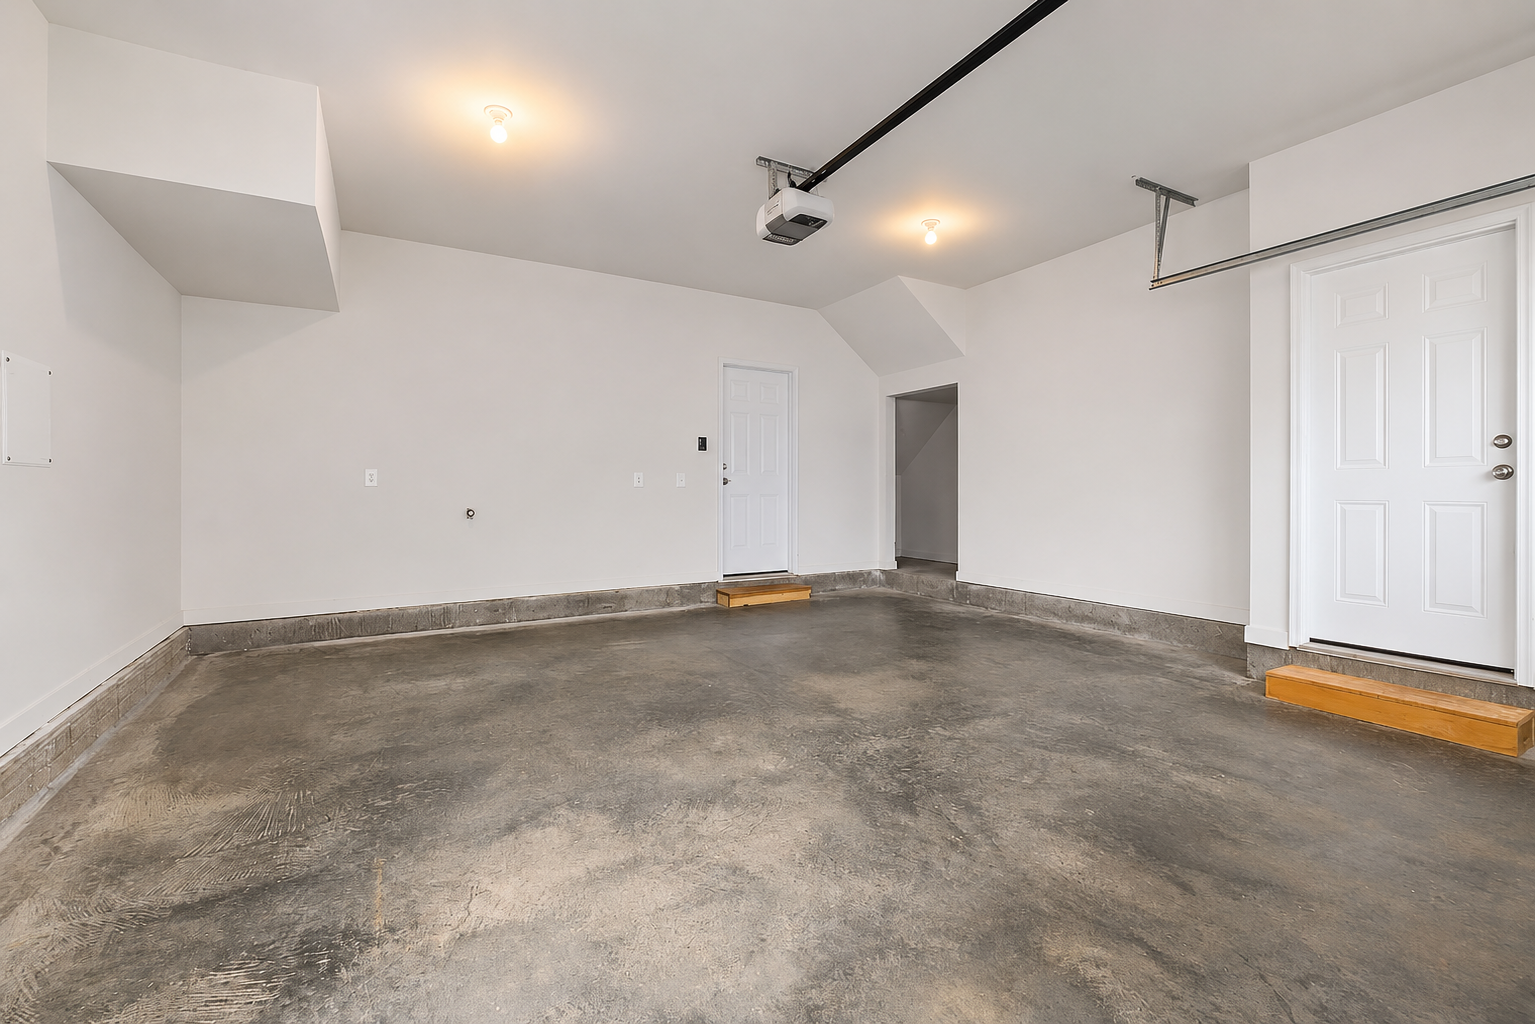
Before the Simulator Took Over the Garage
Thankfully, construction itself was pretty straightforward.
With a little help from my father-in-law, we were able to get everything assembled in one evening. Luckily, the setup process was much simpler than I originally expected. The entire frame was mostly made up of metal pipes that pieced together using a fairly straightforward diagram. Once everything was standing, the final step was stretching the impact screen and enclosure fabric tightly across the frame.
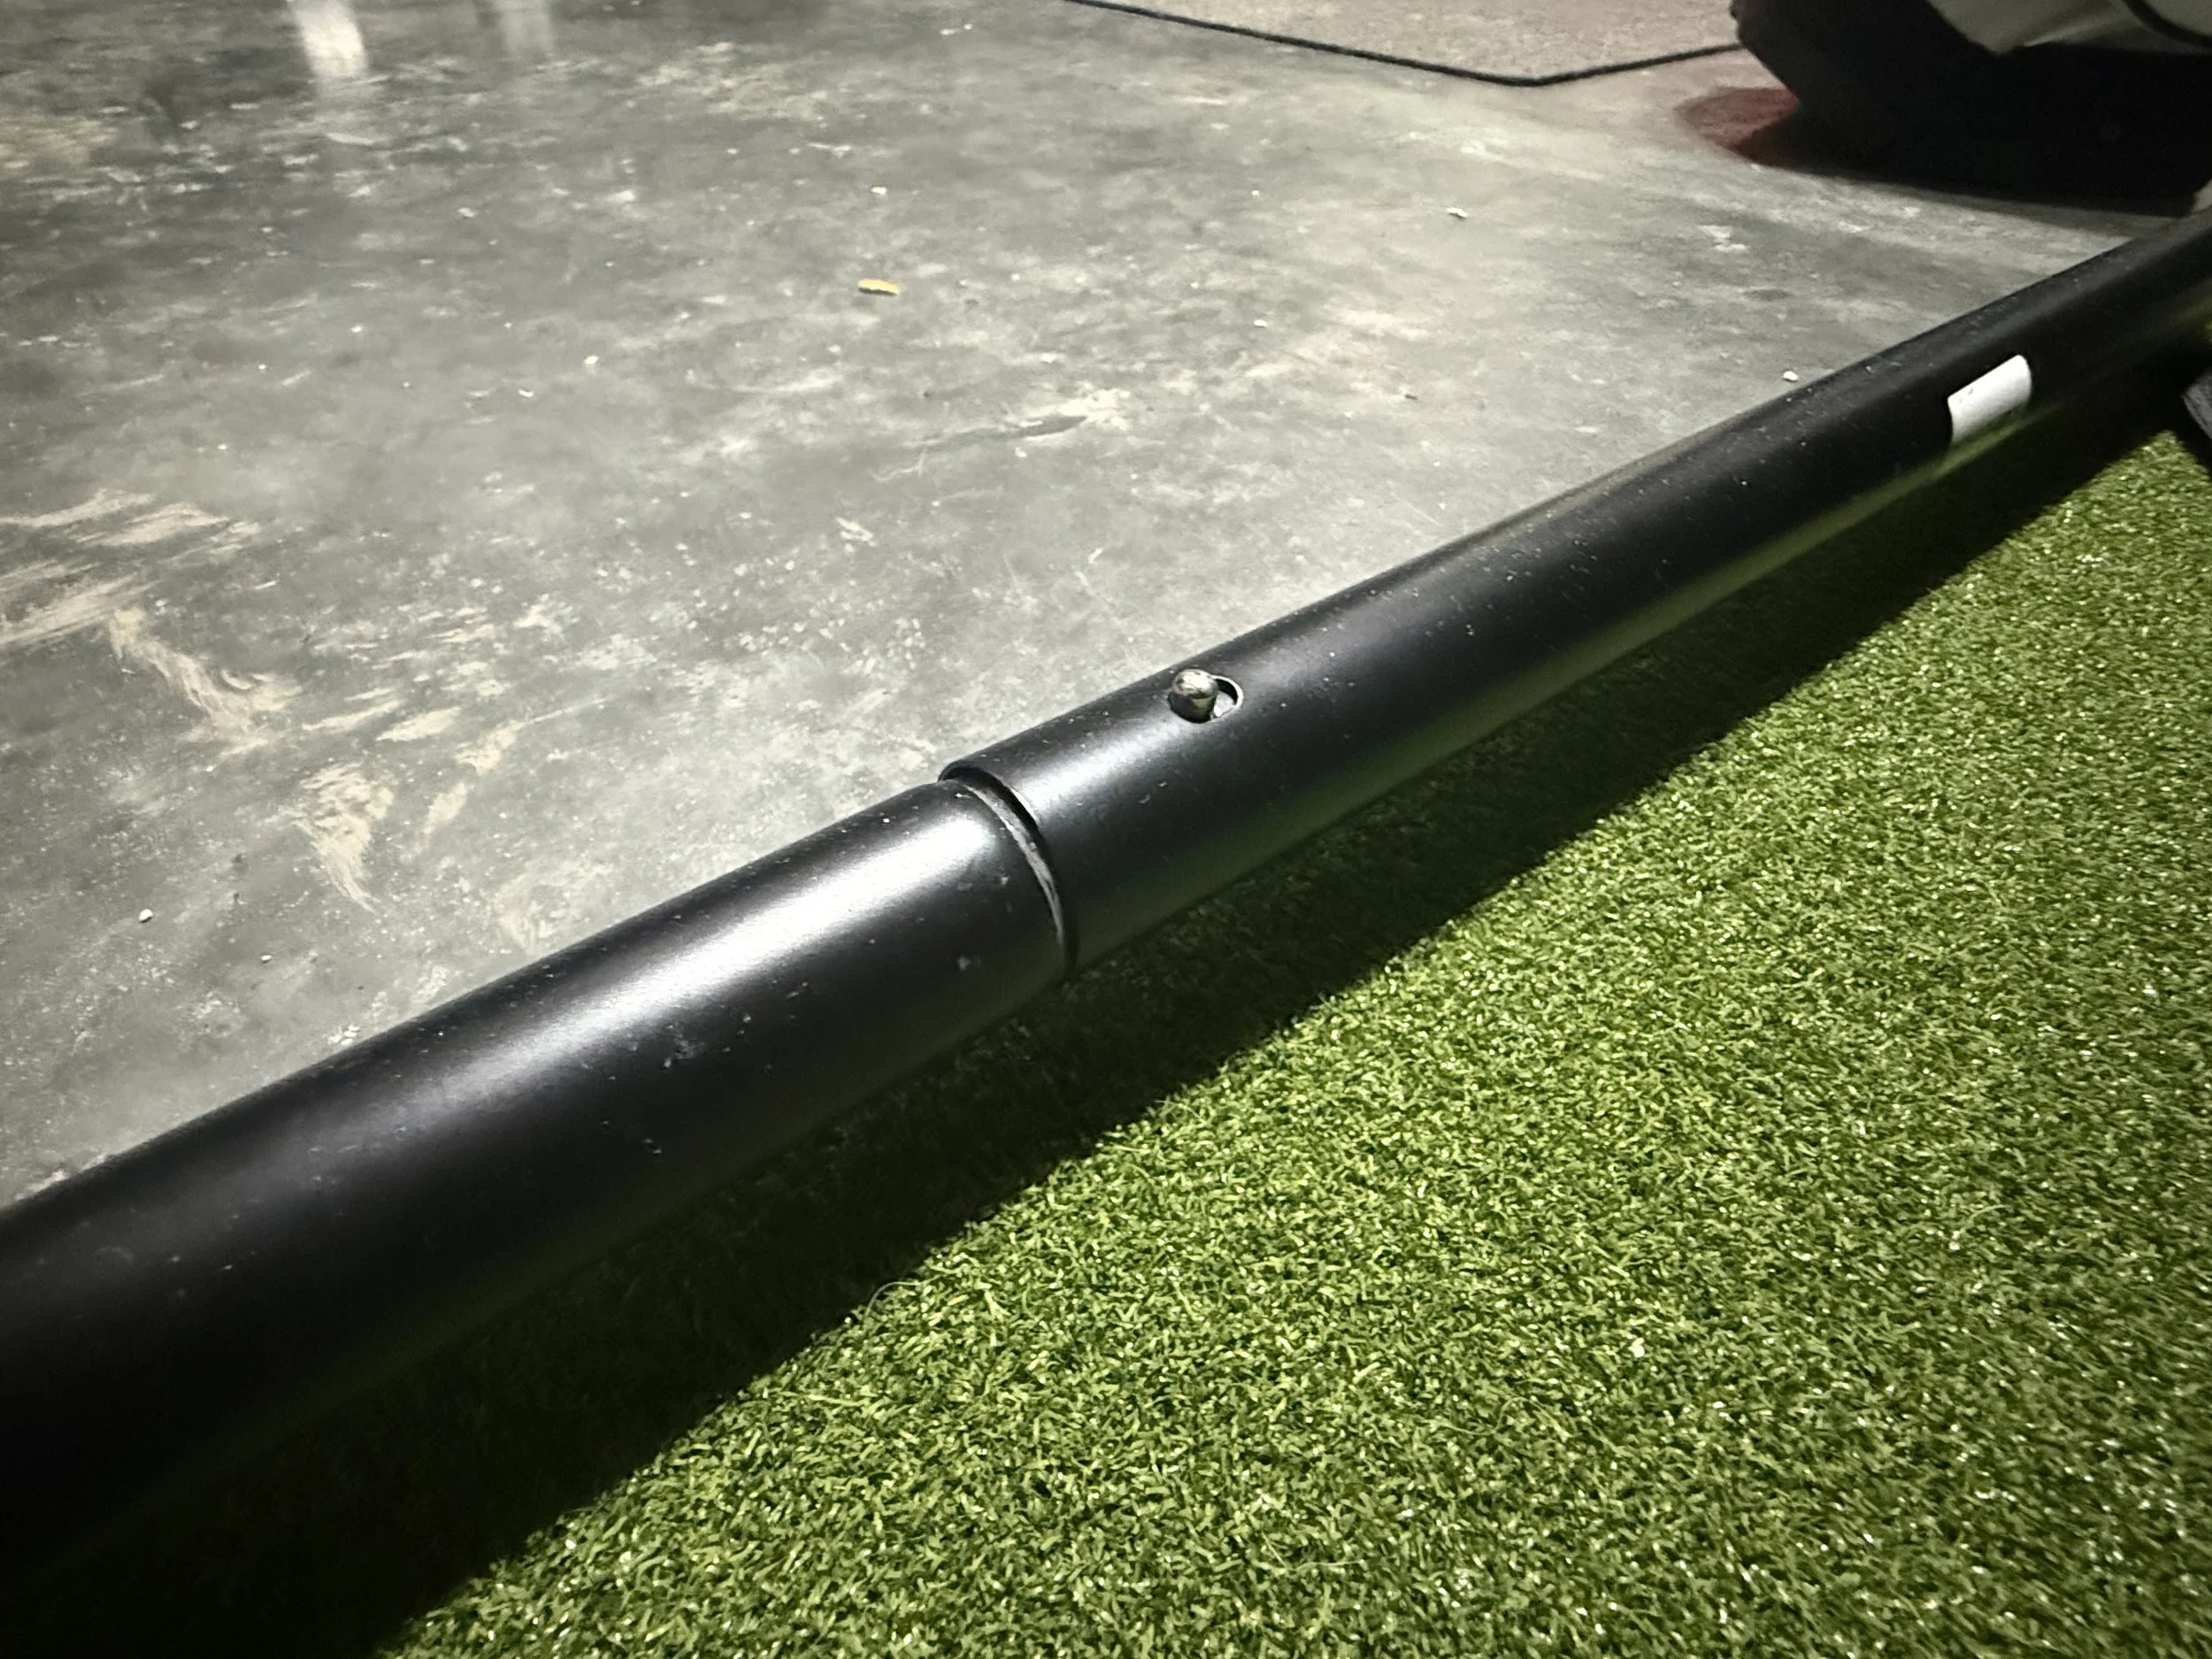
Once everything came together, it was pretty cool seeing the simulator finally take shape — although it also became very clear just how much garage space we had officially committed to golf.
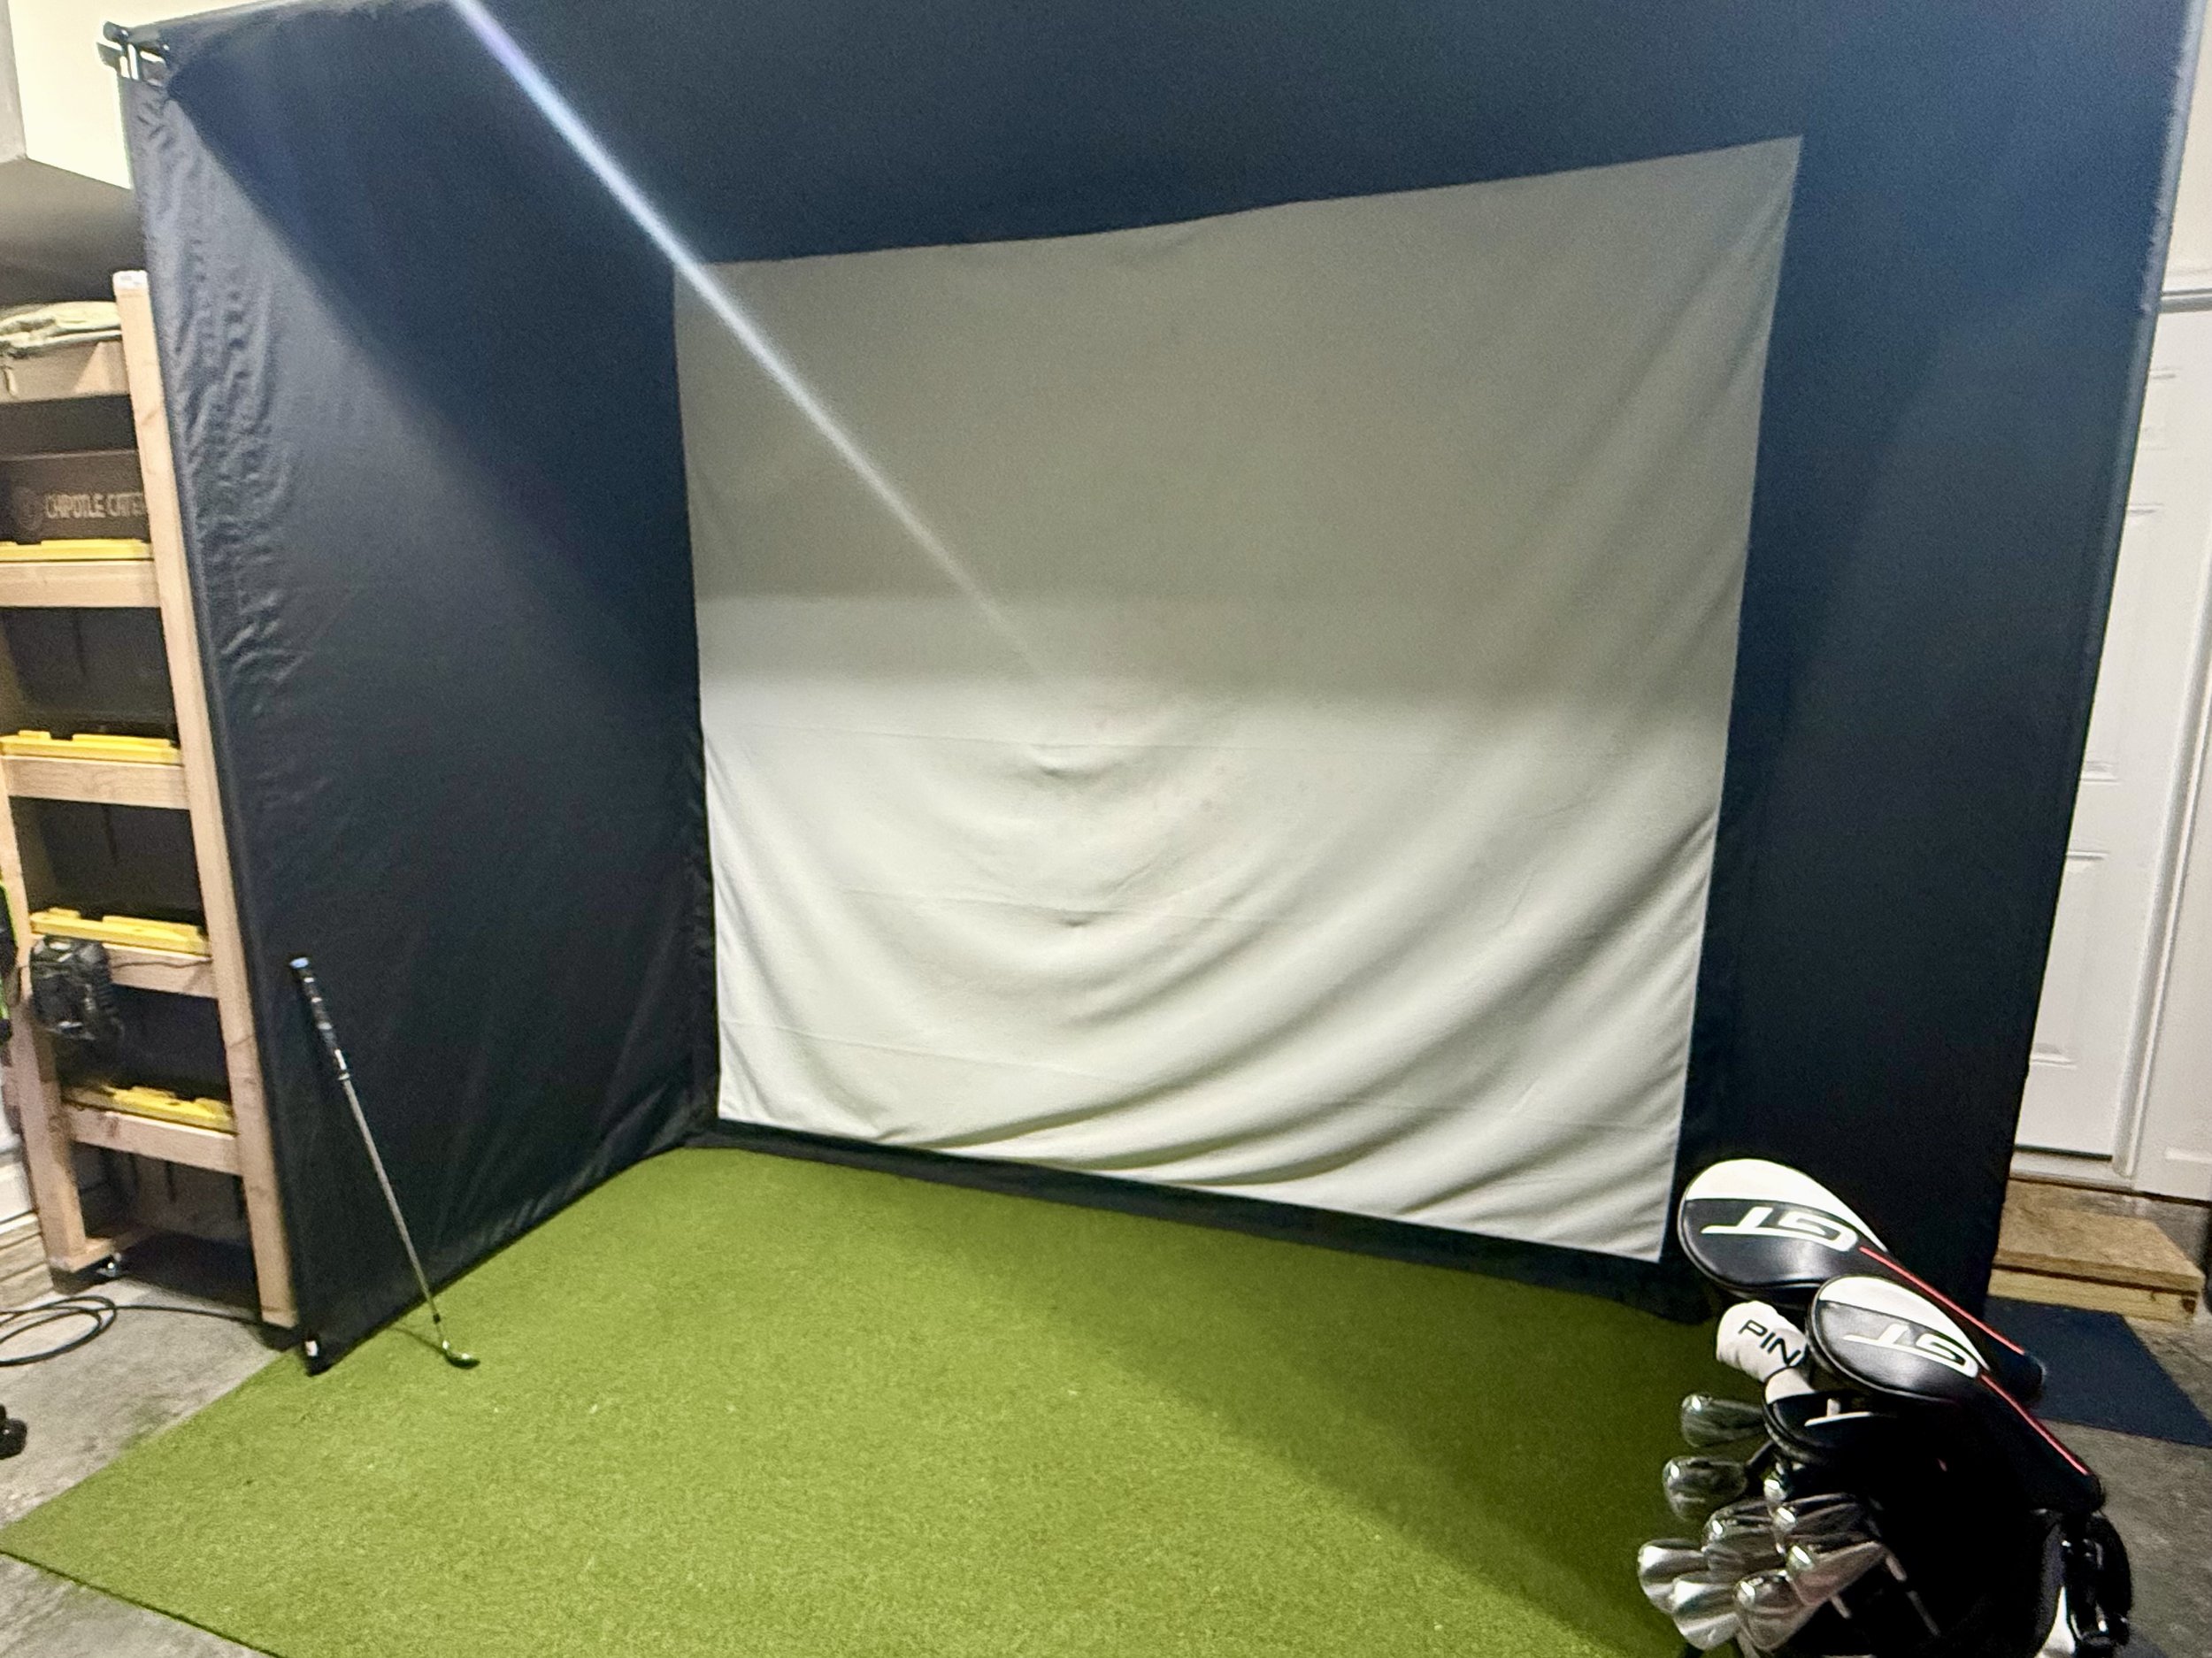
Finally Seeing the Setup Take Shape
At that point, there was really only one major piece left: the computer.
This was also another part of the project that I underestimated. It turns out that properly running simulator software requires a fairly capable gaming PC with good RAM, a decent graphics card, and enough storage to keep everything running smoothly. That’s also something worth keeping in mind when budgeting, because the computer alone can become a fairly significant portion of the overall build cost.
Fortunately, my father-in-law Mark found someone locally through Facebook Marketplace who builds gaming PCs on the side. After talking through what we needed, he helped put together a PC that could comfortably run the simulator software without completely blowing the budget.
Even after purchasing the computer, he was still willing to answer questions and help troubleshoot a few things along the way, which was incredibly helpful for two guys who were completely new to simulator builds. Plus, it always feels good supporting someone local who does quality work on the side.
If anyone local is considering a simulator setup or looking for a custom gaming PC build, feel free to reach out and I’d be happy to connect you.
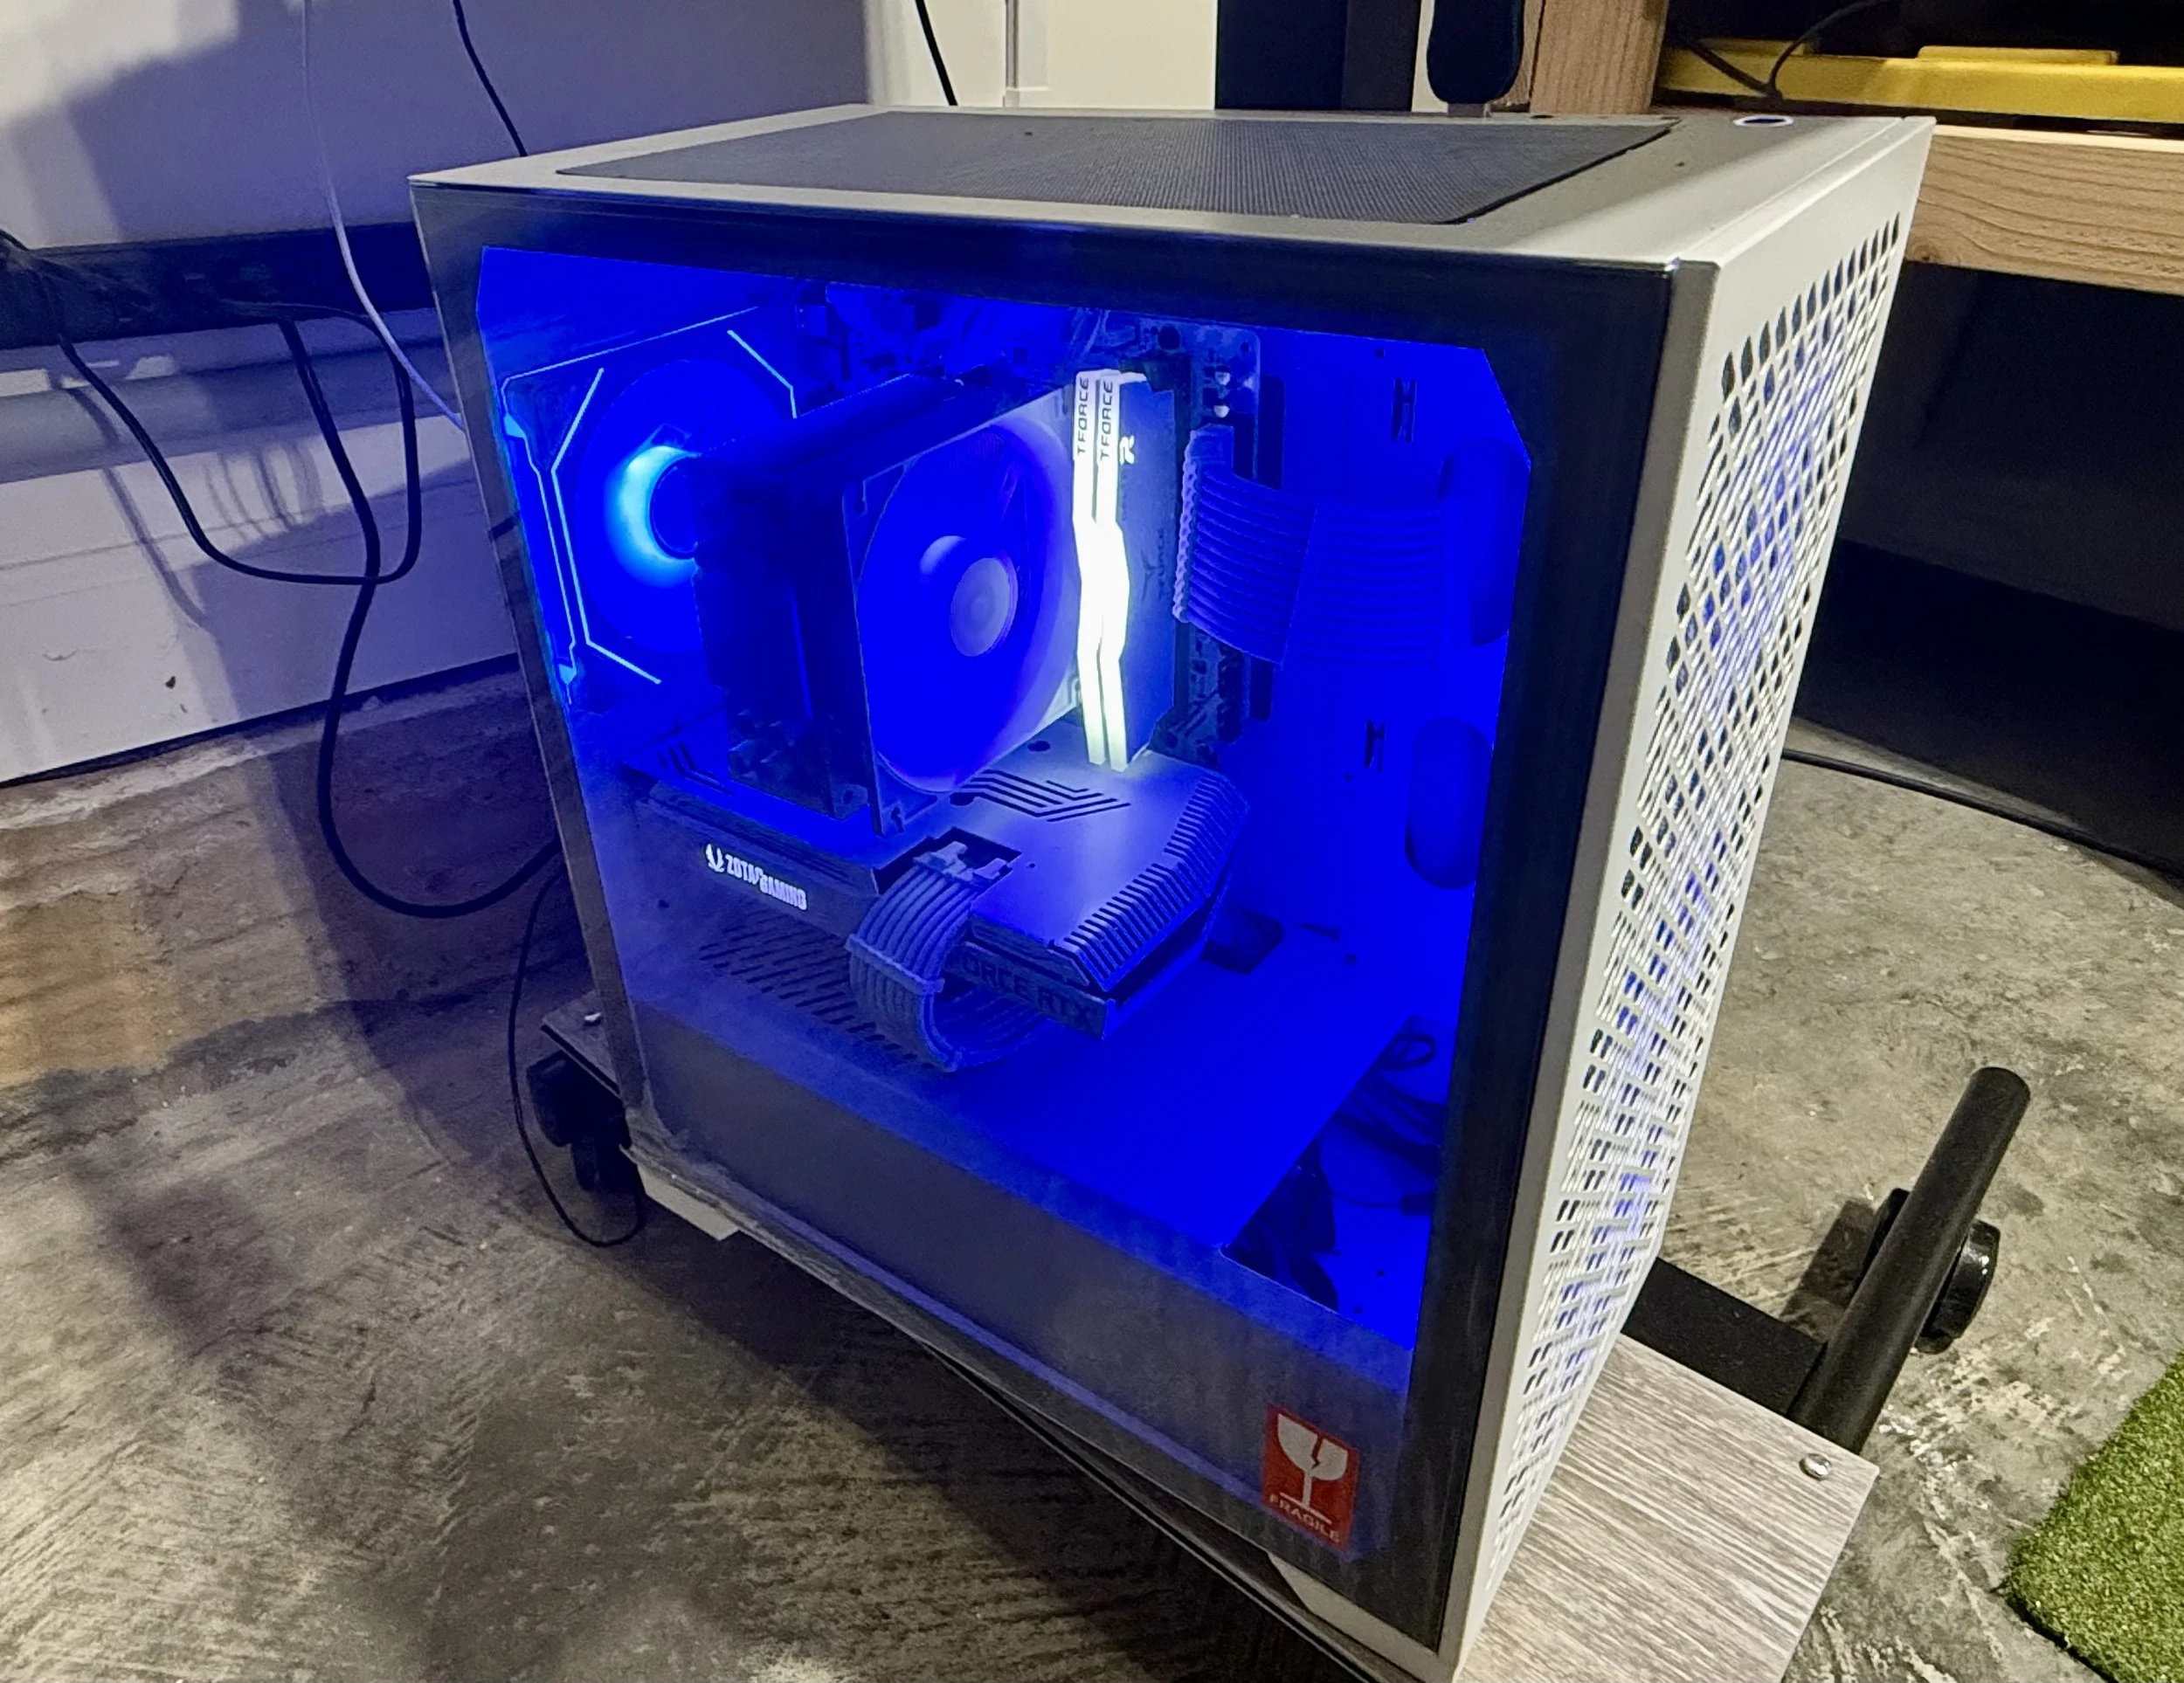
One More Piece of the Puzzle
For now, we’ve been using FSX Pro, as it ended up being the quickest and easiest option to get the simulator fully up and running after the build was complete. Down the road, I’d also like to experiment with GSPro and compare the overall experience between the different software platforms.
The deeper I get into the simulator world, the more I realize there’s a whole separate side of things when it comes to software, settings, and overall experience — something I definitely plan to write and dive deeper into in a future blog.
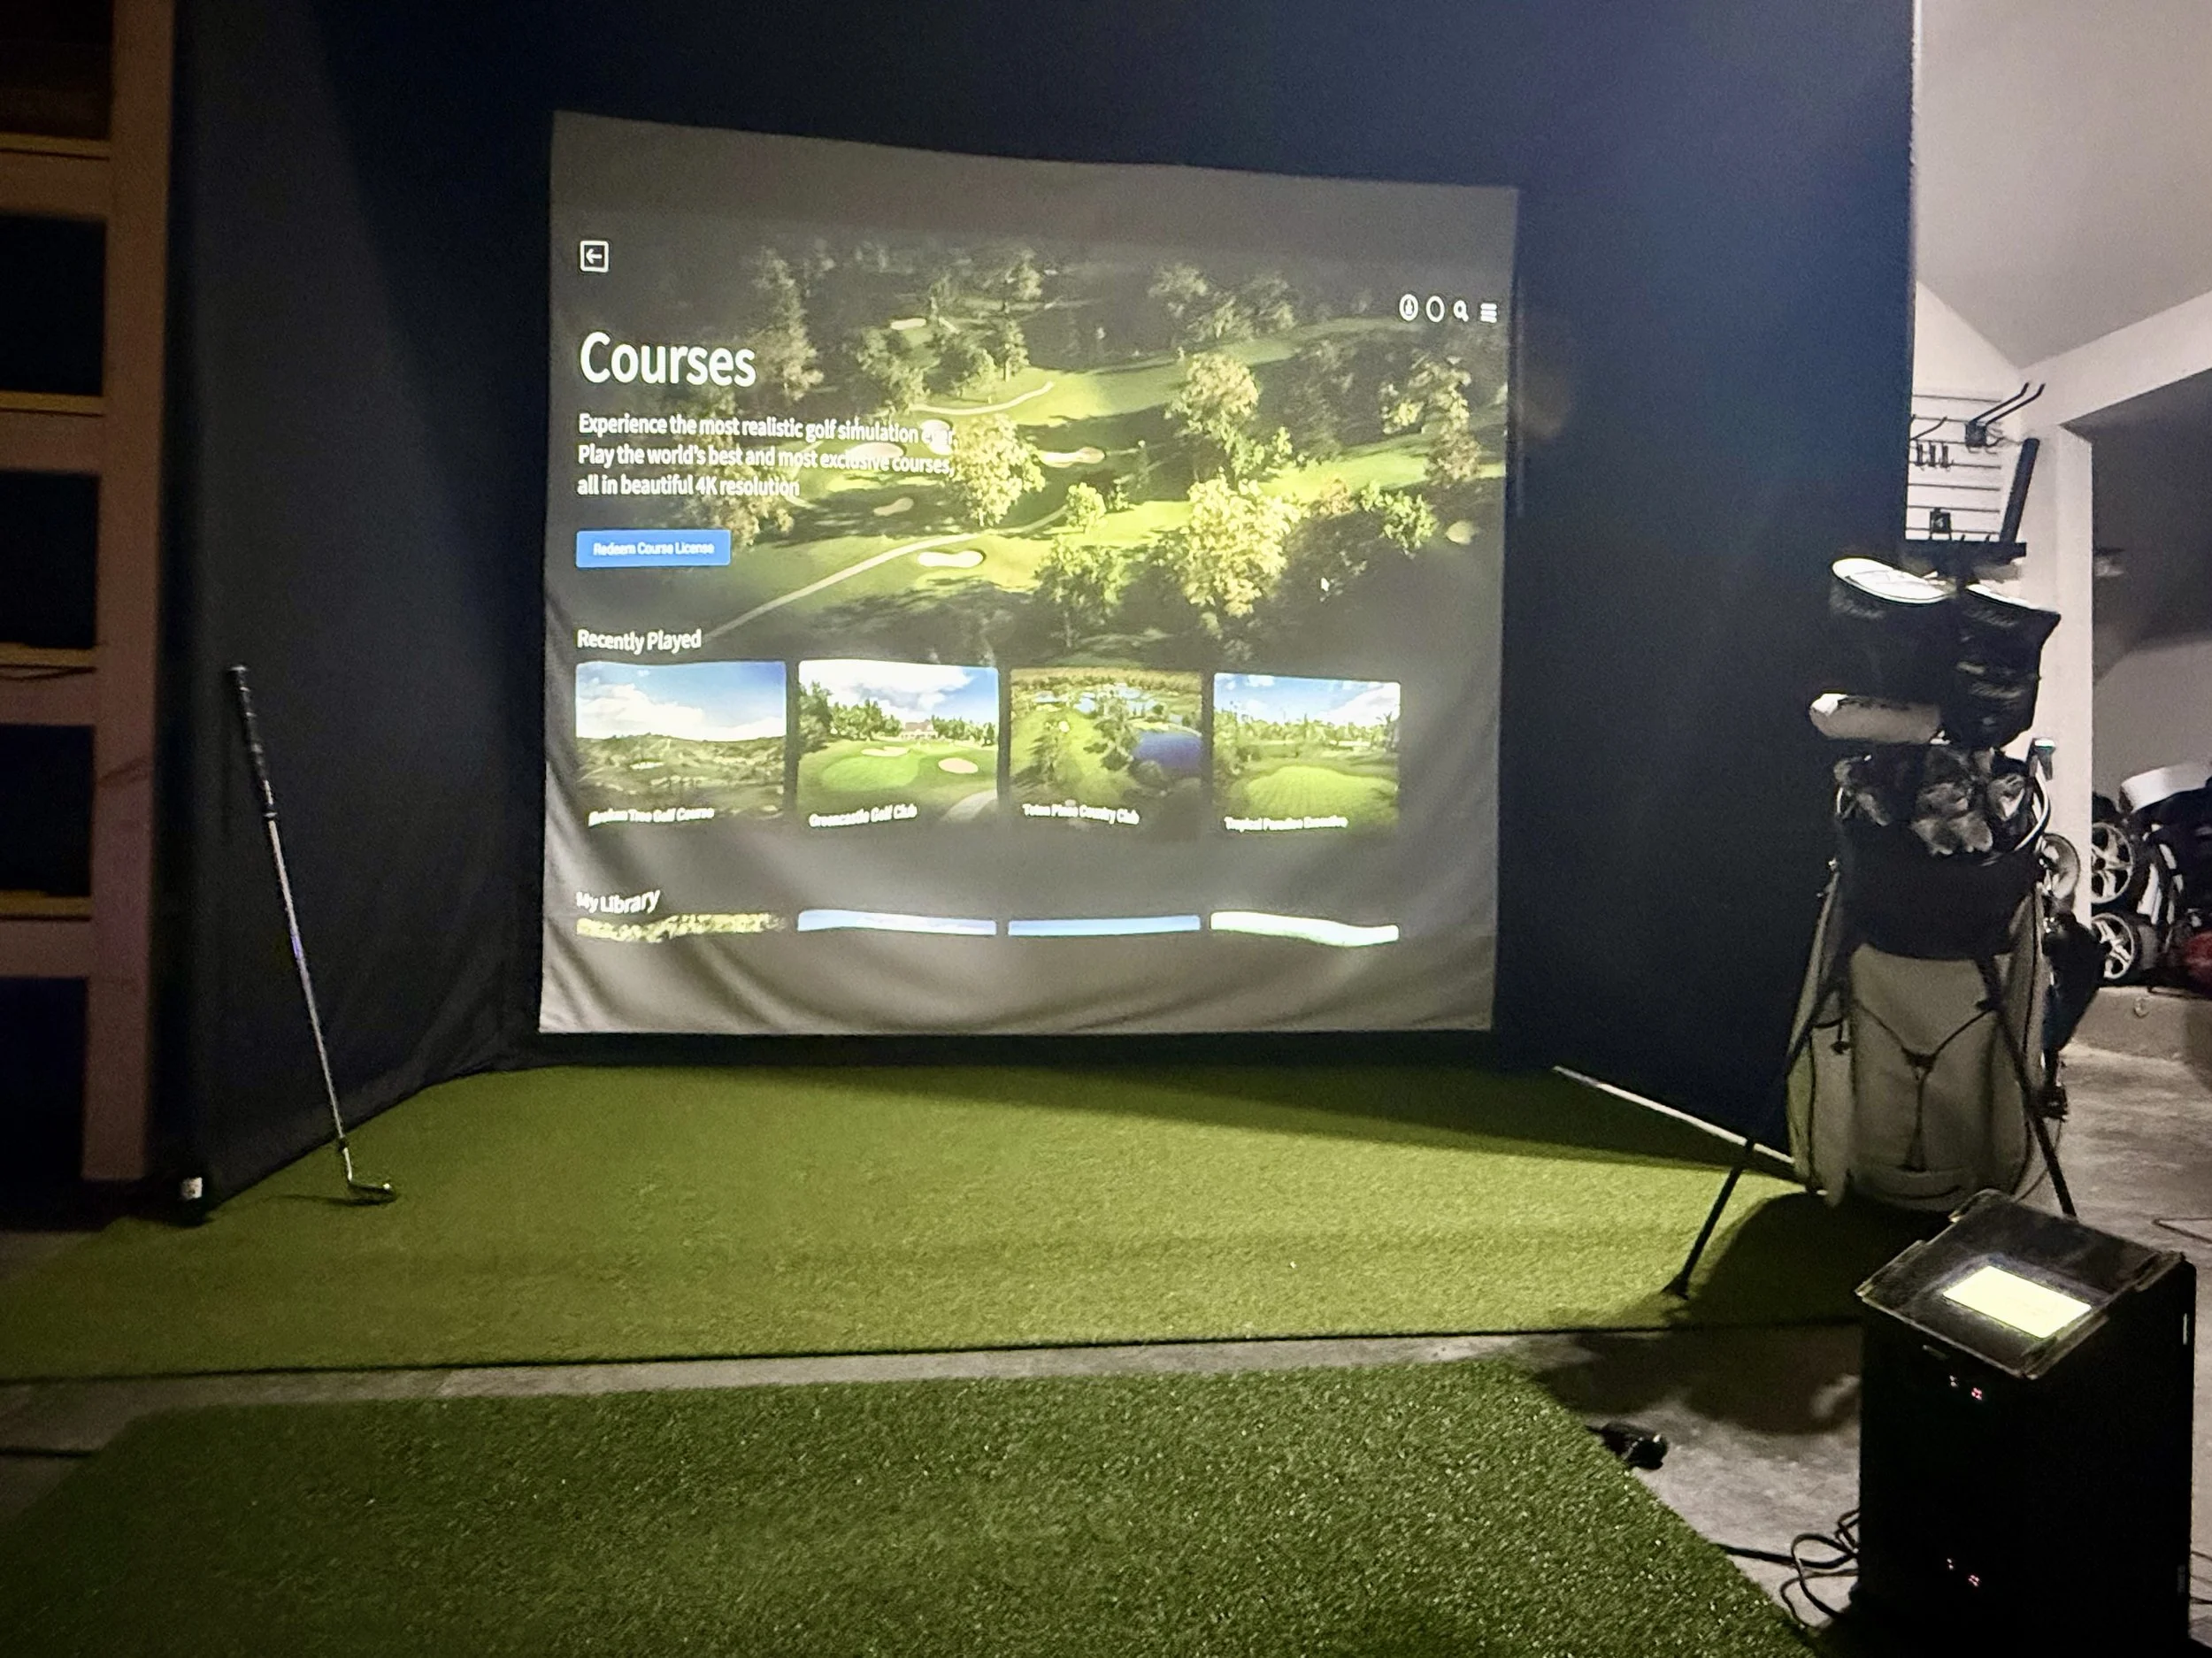
Finally Bringing the Simulator to Life
So far, the simulator has already been a great addition. It gives me a way to practice year-round, immediate swing feedback, and an opportunity to continue improving even when the weather outside is terrible. It has also become a really fun spot for friends to come over, hang out, throw a few friendly bets around, and keep working on our swings later into the evening.
Moving forward, I’m planning to continue documenting the experience, lessons learned, software comparisons, training benefits, and future upgrades as I spend more time with the setup. I’m also looking forward to doing more detailed reviews and sharing what I learn along the way.
This whole project originally started as an attempt to improve my golf game. Going into it, I figured I’d spend most of my time on different courses learning new shots and ways to attack each fairway. Instead, I’ve found a real appreciation for repetition and spending time working through each club on the simulated driving ranges available inside FSX Pro.
What originally started as an attempt to improve my golf game has quickly turned into an entirely new side of golf that I’ve genuinely enjoyed learning about. Heading into the spring season, I feel more excited and confident about my game than I ever have before, and I honestly can’t wait to get back out and continue playing many of the great courses the Shenandoah Valley has to offer.
